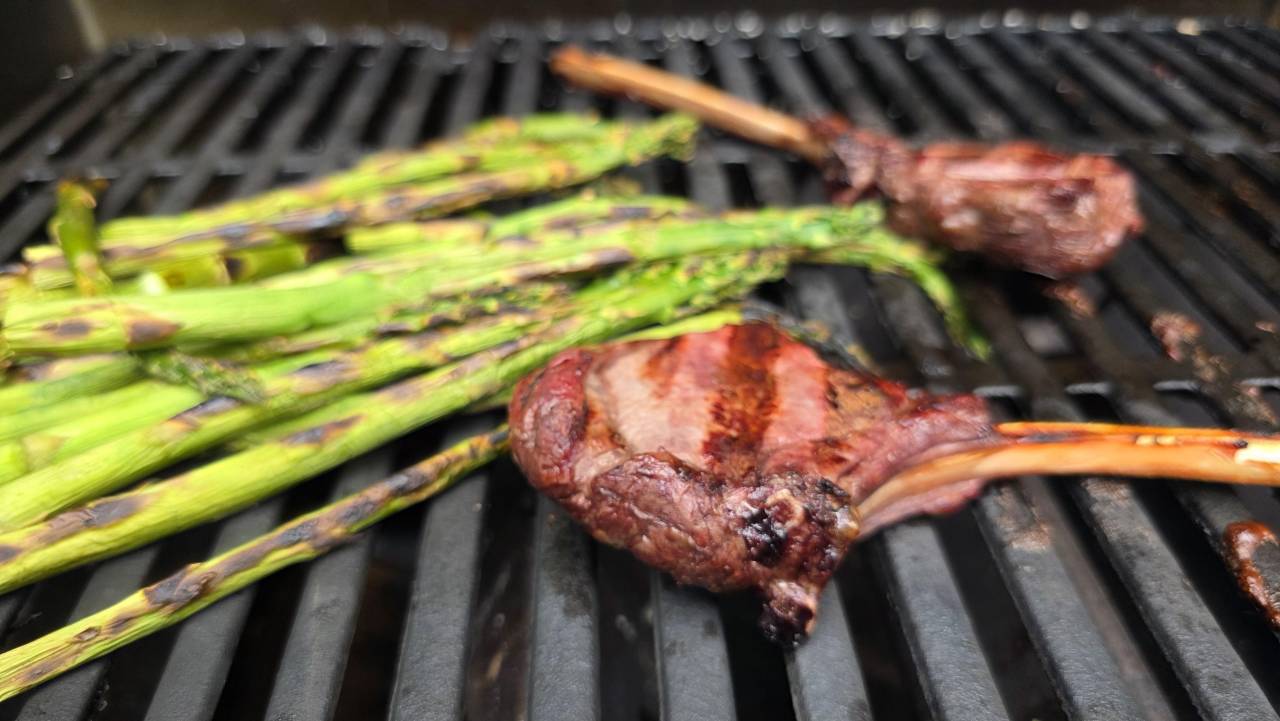
It's been too long since I've been able to enjoy the sizzle of a piping hot, perfectly cooked steak brought to my table. Sure, there's delivery and pickup available but by the time my steak gets home it just isn't the same. Luckily I have the solution to creating the perfect restaurant-quality steak at home and I'm about to share it with you guys ...
It All Starts With The Right Cut of Meat
I'm a huge fan of ribeye steaks because they are nice and fatty with plenty of flavor. It is also generally easier to cook at home since all that extra fat helps compensate for a poor job as the grillmaster. However, one cut that I've avoided in the past is the classic "Strip Steak" also known as the New York Strip Steak, Ambassador Steak, and Strip Loin Steak. There are plenty of other names too but the last one is probably the most important since it describes exactly what the strip steak is - it is cut from the beef short loin.
While relatively lean compared to a ribeye, this cut is packed with beefy flavor and that's ultimately why you might think about it as the "Omaha", "Kansas City", or "New York" Strip Steak. These are the cities that popularized it in some of the greatest steakhouses that the world has ever known.
Next, it is important to consider quality grades. The USDA offers eight different levels with Prime being the top and Choice, Select, and Standard below that.
In our case, we're going to use a Niman Ranch Choice grade New York Strip Steak. You can order it online at Perdue Farms individually as a 14-oz or 16-oz steak, or as part of a bundle such as the Date Night Bundle or the Best of Niman Ranch Bundle. Not only is this steak nicely marbled and comes frozen so you can keep it fresh in your freezer till you are ready to cook it, but the beef was raised in a manner that is reflected in the taste and quality. Niman Ranch family farmers raise cattle in a way that makes me happy to support them. The cattle are never given antibiotics or added hormones ever and they are fed 100% vegetarian fed.


Preparing Your Steak For Cooking
The first step here is to thaw the strip steak slowly in the refrigerator or you can thaw it faster by placing the bag in a large pot with cold water and it will be thawed in about 1-2 hours. Obviously though, if you are using a steak that is not frozen, you can skip this step.
Next, wash the steak gently under running water in the sink. This will rinse off any blood and juices that might have created a layer around the meat. Depending on how your steak was packaged, you might find that the steak looses some color but don't worry. The steak should still be good and it will regain that delicious reddish-pink hue as it dries and is brought up to room temperature. Make sure to gently pat the steak dry to remove any water from the rinse.
Now, place it on a plate or cutting board and allow the steak to warm to ambient temperature before cooking it.
Once the steak rises to at least 60 F, pat it dry again and then salt and pepper the steak. I prefer to use season salt and fresh cracked black pepper since it has more flavor. There are multiple theories when it comes to salting your meat but the absolute wrong way to do it is to put salt on well before you are ready to cook. This will pull water to the outer edges of your strip steak and essentially you are going to end up steaming it instead of getting that nice beautiful crust. While some people like to salt cure their steaks, that is a more complex process that we can talk about another time. Simply put - add your salt and pepper just before you add it to the fire and your steak will taste great!

Knowing The Right Temperature is Critical To Avoid Ruining Your Strip Steak
There are some folks that have a perfect understanding for exactly how long to wait before flipping a steak or taking it off the fire. In fact, there are dozens of methods that I've been taught to estimate the doneness without slicing into the beef and letting the juices out. Nothing compared to using a meat thermometer though and so this is a critical piece of equipment that you must have in your kitchen. I recently got the MEATER+ sent to me by the brand it is a lifesaver ... er meatsaver?
You will find some differences out there as to the exact temperatures but this is what I generally consider to be what most people would expect.
Rare (cool red center) - 125 F
Medium Rare (warm red center) - 135 F
Medium (warm pink center) - 145 F
Medium Well (slightly pink center) - 150 F
Well Done (little to no pink) - 160 F
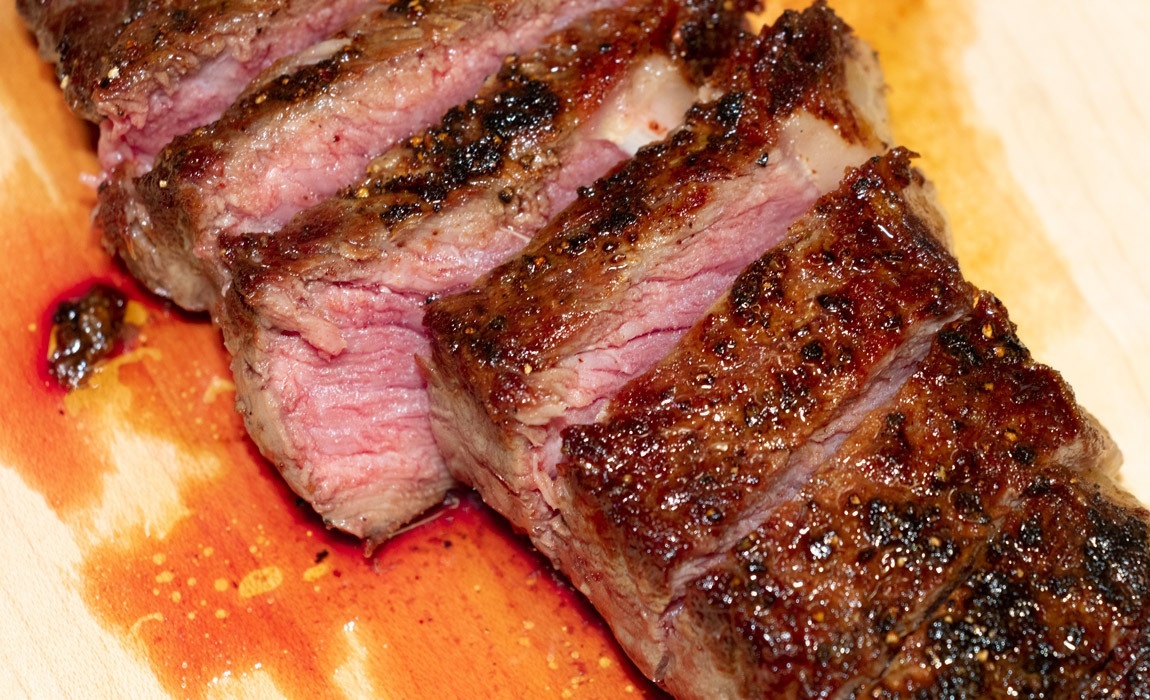
I prefer medium rare, because it still has plenty of nice red juices and when properly cooked that leaves a beautiful gradation of colors from the rich brown/black crust to the warm pink center.
When cooking your strip steak, it is critical that you take into account that the center of your steak will continue cooking for a few moments after you take it off the heat. This means that while you might want a 135 F temperature, you should potentially remove the steak from the heat at 130 F instead and let it rest. Luckily with a meat thermometer such as MEATER+ it takes care of all that for you and tells you the exact moment to remove it from the heat.

It's Time To Start Cooking Your Steak
This method that I'm about to share is more complex than some people might want but the extra effort is more than worth it. We're going to sear both sides of the steak to get that beautiful crust and then pop it in the oven to finish roasting it till the temperature gets to the perfect level.
There is nothing better to cook the perfect steak at home than a medium-sized cast iron skillet. Make sure to get a good quality one but don't get suckered into paying for something fancy. Cast iron skillets are extremely utilitarian and why you could get one from Le Creuset, you can't beat the classic Lodge Cast Iron Skillet. This is by far the most useful pan in my kitchen since it is able to maintain heat way better than aluminum or even my expensive stainless steel pans.
Pre-heat the oven to 425 and as that begins to heat up, you'll want to put a layer of vegetable oil in the bottom of your cast iron skillet and turn the heat to high.
The key here is to get your skillet as hot as possible so that the instant your strip steak hits the pan it creates a beautiful sear.
Now take the tongs and place your steak into the pan facing away from you. This will help reduce any splatters and if you've dried the steak properly there should be no "pops" of oil. (Drying is not just for flavor - it is essential to safety!)
After approximately one minute, you'll want to flip the steaks and quickly sear the edges before placing the non-seared side back in the pan to cook.
Now that the strip steak has a nice beautiful black crust, add minced garlic and more oil or butter to the pan and place it in the oven.
This again is where being able to measure the temperature precisely is critical. For medium rare, you'll need to remove it from the oven at approximately 130/132 and let it rest on a cutting board for 3-5 minutes.

Now You Are Ready to Cut and Serve Your Perfect New York Strip Steak!
If you've done things right this steak should slice easily with a sharp knife and be ready to serve. It should have a nice warm red center and plenty of juices that ooze out from every cut you make.
All you need to do now is add a bottle of wine and some sides such as green beans and smashed potatoes to complete the experience.
